Home lighting guide · Toronto

Light every room the right way

The complete home lighting guide: how to layer your light, how many lumens you really need, and the right colour temperature for every room. For first-timers and renovators alike.

3layers of light
8rooms covered
2free tools
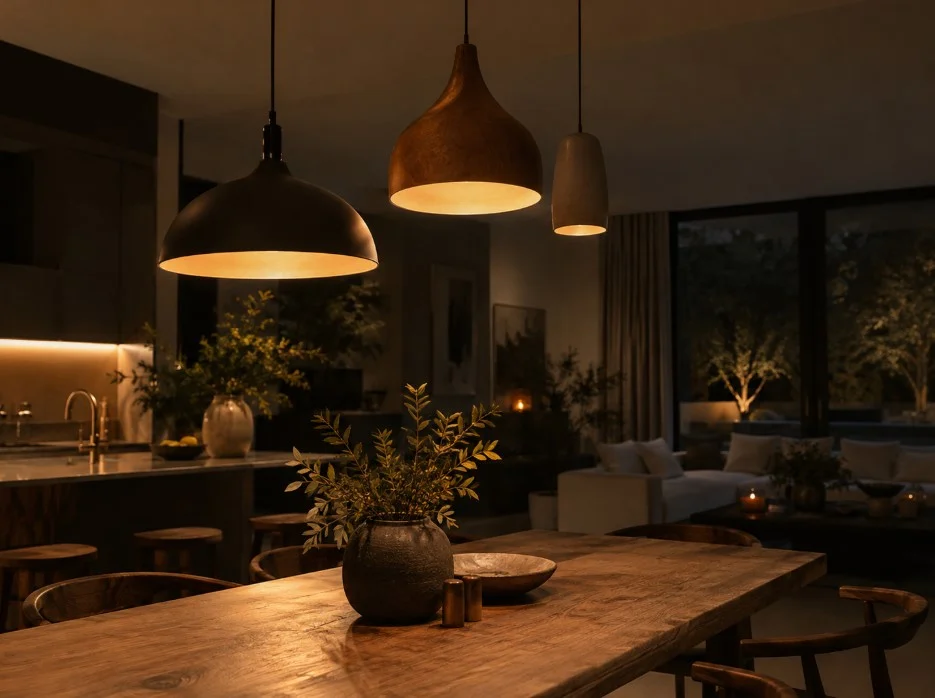
Warm pendant lights glowing in a dark interior
Start here

Good lighting is layered, not single

One ceiling fixture rarely lights a room well. The secret that designers use is layering three kinds of light, so a space can shift from bright and practical to soft and relaxed.

Ambient

The general, overall light of a room — usually ceiling fixtures, recessed lights or a flush mount. It sets the baseline brightness you move around in.

Task

Focused light for an activity: reading, cooking, shaving, working. Think under-cabinet strips, a desk lamp, a vanity light or a swing-arm by the bed.

Accent

The finishing layer that adds mood and depth — picture lights, wall washers, cove lighting or a lamp that highlights art, texture or a bookshelf.

Why does layering matter so much? Because a single overhead light does only one thing, at one brightness, from one direction. It flattens a room, throws hard shadows under faces and cabinets, and leaves corners dark. The moment you add a second and third source at different heights, the room gains depth: pools of light and gentle shade that the eye reads as warm and comfortable.

Think of the three layers as a recipe you can re-balance through the day. In the morning you might want all three up for a bright, functional space. In the evening you drop the ambient layer, let the task and accent lights take over, and the same room becomes calm and intimate — without changing a single bulb.

Rule of thumb: aim for at least two layers in every room, and put the switches on separate controls or dimmers so you can mix them.


How much light

Lumens, not watts

Watts measure energy use; lumens measure actual brightness. Since LEDs produce far more light per watt, you now shop by lumens. The amount a room needs is based on its size and purpose, measured in foot-candles (1 foot-candle = 1 lumen per square foot).

Lumen calculator

0 lumens
Fixtures (approx.)–
Suggested colour–
Target level–

A quick example: a 12 × 15 ft living room is 180 sq ft. At roughly 15 foot-candles, that is about 2,700 lumens of ambient light — which you would then split across several sources rather than one glaring fixture.

Treat the result as a starting point, not a hard rule. Darker wall colours, high ceilings and lots of matte surfaces absorb light, so you may want to aim higher. Dimmers let you dial a bright baseline down whenever you want softer light.

The reason you spread the total across several fixtures, rather than buying one very bright light, is quality over quantity. Three 900-lumen sources placed around a room give even, shadow-free light; one 2,700-lumen fixture in the ceiling gives glare directly below it and gloom at the edges. The number tells you how much light to buy — layering tells you where to put it.

Ceiling height changes the maths too. Light falls off quickly with distance, so a room with nine- or ten-foot ceilings needs noticeably more output than the same floor area under an eight-foot ceiling. When in doubt, add a little headroom and a dimmer rather than ending up short.

RoomFoot-candlesLumens (150 sq ft)
Living room10–20~2,250
Bedroom10–20~2,250
Kitchen (general)30–40~5,250
Kitchen counter50–100task-level
Bathroom30–40 (vanity 70–80)~5,250
Dining room30–40~5,250
Home office40–50~6,750
Hallway / entry5–10~1,125

Based on IES-style residential ranges. Exact needs vary with ceiling height, colours and fixture placement.
Colour temperature

Warm or cool? Getting Kelvin right

Colour temperature, measured in Kelvin (K), is why one bulb feels cosy and another feels clinical. Lower numbers are warm and yellow; higher numbers are cool and blue-white. Match it to how you use the room — and keep one temperature per room.

Colour selector

2700K warm4000K6500K cool
Around 2700K — a soft, warm glow for relaxing spaces like living rooms and bedrooms. Pair with a CRI of 90+ for natural-looking skin tones.

Don’t forget CRI

Colour Rendering Index (CRI) measures how true colours look under a light, on a scale to 100. Below 80, colours look washed out or off; cheap LEDs often cut corners here. Aim for CRI 90+ wherever colour matters — kitchens, bathrooms, dining rooms and closets.

The other golden rule: don’t mix colour temperatures within one room. A 2700K lamp beside a 4000K ceiling light reads as a mistake, even to people who can’t say why. Pick one temperature per space and stick to it.

There is a human reason to favour warm light in the evening, too. Cool, blue-rich light in the 5000K range mimics midday sun and signals the brain to stay alert — useful in a kitchen or office, less so in a bedroom an hour before sleep. Keeping living and sleeping spaces in the warm 2700K range respects that natural rhythm.

If you cannot decide, tunable or dim-to-warm LEDs let one fixture shift its colour. They cost more, but in a multi-use space — a studio apartment, a combined kitchen and dining area — they solve the one-temperature-per-room problem without compromise.

SpaceKelvinFeel
Living / bedroom2700KWarm, cosy
Dining room2700–3000KInviting
Kitchen / bathroom3000–4000KClean, crisp
Home office~4000KAlert, neutral
Garage / utility5000–6500KBright daylight

Put it together

Plan any room in five steps

Everything above comes together in a short, repeatable process. Walk through it for one room and the rest become easy.

1. Name the jobs

List what actually happens in the room — cooking, reading, eating, getting ready, relaxing. Each job is a task light waiting to be placed. A room with three activities needs three pools of light, not one.

2. Set the brightness

Use the calculator above to get a total lumen target from the room’s size and purpose. Write the number down; it is your budget of light to spend across the fixtures.

3. Choose the colour

Pick one Kelvin value for the whole room using the selector, and commit to CRI 90+ if colour matters there. Note it next to your lumen target so every bulb you buy matches.

4. Place the layers

Start with ambient for the baseline, add task light exactly where the jobs happen, then accent light to lift art, texture or a focal wall. Aim for two or three sources at different heights.

5. Add control

Split the layers onto separate switches and put the main ones on dimmers. This single step is what lets one room serve a bright Monday morning and a low-lit Friday night equally well.

Do this once on paper — a rough sketch with circles for each light — before you buy anything. It costs nothing and prevents the most expensive mistake: a roomful of fixtures that still does not light the space properly.


Room by room

How to light each room

Every room has a job. Here is the quick brief for the main spaces — the target light level, a sensible colour temperature, and the one thing people most often get wrong.

Living room

Level10–20 fc
Colour2700K
CRI90+

Layer it: ambient from the ceiling, a couple of table or floor lamps for evenings, and accent light on art or shelving. Put everything on dimmers for flexibility.

Kitchen

Level30–40 fc
Colour3000–4000K
CRI90+

The classic mistake is relying on one central light that casts your shadow onto the counter. Add under-cabinet task lighting and pendants over an island.

Bedroom

Level10–20 fc
Colour2700K
CRI80+

Keep ambient light soft and warm. Add bedside reading lights — wall-mounted swing arms save nightstand space — and avoid cool, blue-white light before sleep.

Bathroom

Levelvanity 70–80 fc
Colour3000–4000K
CRI90+

Light the face, not just the ceiling. Put fixtures on either side of the mirror at eye level to erase shadows under the eyes and chin — the opposite of a single overhead.

Dining room

Level30–40 fc
Colour2700–3000K
CRI90+

A dimmable pendant or chandelier centred over the table does the heavy lifting. Hang it about 30–36 inches above the tabletop, and keep it narrower than the table.

Home office

Level40–50 fc
Colour~4000K
CRI90+

Brighter and more neutral keeps you alert. Add a dedicated desk lamp for task light, and position it to the side of your screen to cut glare and reflections.

Hallway & entry

Level5–10 fc
Colour2700–3000K
CRI80+

These are transition spaces, so they need less light — but even, welcoming light. Space flush mounts or recessed lights evenly, and a sconce or two adds warmth at the door.

Kids’ room & nursery

Level10–20 fc
Colour2700K
CRI90+

Warm, dimmable light helps wind-down and night feeds. Add a soft, low-level night light, and keep any cool, bright task light at the desk only, well away from the bed.

Garage & utility

Level50+ fc
Colour5000–6500K
CRI80+

Here, visibility beats mood. Bright, cool daylight-white fixtures — often LED shop lights or battens — make tools, labels and workbenches easy to see.

The toolkit

Types of light fixtures

Knowing what each fixture is for makes a lighting plan far easier. Most rooms combine two or three of these.

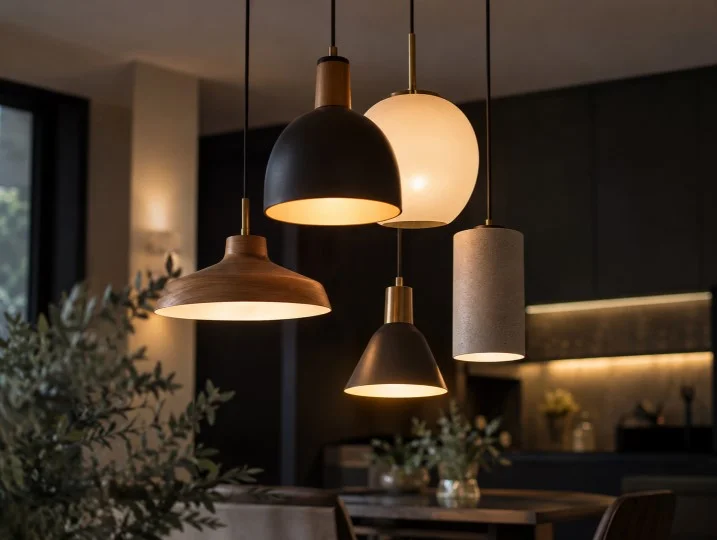
A cluster of modern pendant lamps

Flush & semi-flush

Ceiling-hugging ambient light for low ceilings, halls and bedrooms.

Pendant

Hangs from the ceiling; great task or style light over islands and tables.

Chandelier

A statement centrepiece for dining rooms, entries and stairwells.

Recessed / pot

Discreet ambient or wall-wash light built into the ceiling.

Track & spots

Adjustable heads to aim accent light at art, counters or features.

Wall sconce

Ambient or accent light at eye level; perfect flanking a mirror.

Floor & table lamps

Portable layers that add warmth and fill dark corners in the evening.

Under-cabinet

Hidden strips or pucks that light kitchen counters without shadows.

Buying bulbs

Reading a bulb box without the guesswork

Modern LED packaging lists everything you need, once you know what to look for. Scan for four numbers: lumens (brightness), Kelvin (colour), CRI (colour accuracy) and wattage (energy use, now much lower than old incandescents).

As a rough translation from the old world: a 40W incandescent is about 450 lumens, a 60W about 800 lumens, and a 100W about 1,600 lumens. An LED hitting those brightness levels typically draws a fraction of the watts.

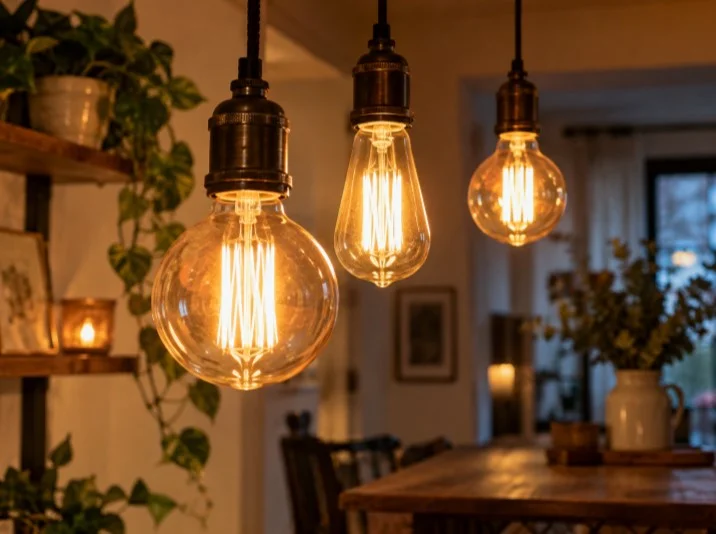
Warm Edison-style LED bulbs

Check for dimmable

Not every LED dims, and a non-dimmable bulb on a dimmer switch will buzz or flicker. If you want to soften a room, buy bulbs labelled dimmable and pair them with an LED-compatible dimmer.

Mind the beam

Spotlights and some reflector bulbs throw a narrow beam; general-purpose bulbs spread light widely. Match the beam to the job — tight for accent, wide for ambient.

Buy one, then the rest

Colours vary between brands even at the same Kelvin. Buy a single bulb, live with it for an evening, and only then buy the full set for the room.

Think about controls

Dimmers, smart bulbs and simple timers all extend how one fixture can be used — bright for cleaning, low and warm for unwinding.

Controls

Dimmers, smart bulbs and switching

The fixtures decide where light goes; the controls decide how you use it. Good switching is what turns three fixed lights into a dozen different moods.

Dimmers first

If you make one upgrade, make it dimmers. They let a room go from full brightness for cleaning to a low, warm wash for the evening, and they extend bulb life while cutting energy use. Just confirm two things: the bulbs are marked dimmable, and the dimmer is rated for LEDs. An old incandescent-era dimmer paired with LEDs is the usual cause of buzzing and flicker.

Separate your layers

Wherever you can, put ambient, task and accent lights on different switches. Being able to turn the overhead off while leaving lamps and under-cabinet light on is the whole point of layering — and it is far easier to wire in at the planning stage than to add later.

Smart bulbs and switches

Smart lighting adds scheduling, remote control and scenes — a single tap for “movie,” “dinner” or “morning.” Smart bulbs are the easy, rental-friendly route; smart switches are tidier for whole rooms but need a little wiring. Tunable smart bulbs also sidestep the one-colour-per-room rule by shifting warm to cool on demand.

Keep it simple where it counts

Not every light needs an app. For a hallway or closet, a motion sensor or a plain reliable switch beats a fiddly scene you have to think about. Reserve the smart controls for the rooms where you genuinely change the mood.

Where to start

Better lighting on any budget

You do not need a renovation to light a room well. Most of the difference comes from cheap, reversible changes — ideal if you rent.

Under $50

Swap in CRI 90+ bulbs at one consistent colour temperature, and add a plug-in dimmer or a single table lamp to a dark corner. The warm-up is immediate.

Under $200

Add a floor lamp for a second ambient layer, under-cabinet strips in the kitchen, and smart bulbs for scenes and scheduling — no electrician required.

Renovating

Now is the moment to add recessed lighting, wire layers to separate dimmers, place a statement pendant, and light the vanity from the sides. Plan it before the walls close.

Avoid these

Five common lighting mistakes

1. One light per room

A single ceiling fixture flattens a space and casts hard shadows. Layering is the fix — always aim for two or more sources.

2. No dimmers

Without dimming, a room has one mood. Dimmers are among the cheapest upgrades with the biggest payoff.

3. Mixing colour temperatures

Warm and cool bulbs in the same room clash. Standardise on one Kelvin value per space.

4. Ignoring CRI

Cheap, low-CRI bulbs make food, skin and paint colours look wrong. Spend a little more for CRI 90+ where it counts.

5. Fixtures at the wrong height

Pendants hung too high or too low, or a vanity lit only from above, undo good intentions. Follow the placement notes for each room.

Start with the calculator → and work outward from there.

The journal

Latest from the blog

Gaming Room Lighting: RGB vs Bias Lighting vs Task Lamps

Read more →

Living Room Lighting Layout: A Practical Room-by-Room Planning Method

Read more →

Open-Plan Living Room Lighting: How to Light Each Zone

Read more →
Questions

Home lighting FAQ

How many lumens do I need per room?

Multiply the room area in square feet by its target foot-candles. Living rooms and bedrooms want about 10–20 foot-candles, kitchens and dining rooms 30–40, and a home office 40–50. A 180 sq ft living room at 15 foot-candles needs roughly 2,700 lumens, spread across several fixtures.

What is the difference between lumens and watts?

Lumens measure brightness; watts measure energy use. Because LEDs are efficient, you choose a bulb by its lumens and treat watts as a sign of running cost. A 60W incandescent and an 800-lumen LED give similar brightness, but the LED uses a fraction of the power.

What colour temperature is best for each room?

Use warm 2700K in living rooms and bedrooms, 2700–3000K in dining rooms, 3000–4000K in kitchens and bathrooms, around 4000K in a home office, and 5000K or higher in garages and utility spaces. Keep one colour temperature per room.

What is CRI and why does it matter?

CRI (Colour Rendering Index) rates how accurately a light shows colours, up to 100. Below 80, colours look dull or off. Aim for CRI 90+ in kitchens, bathrooms, dining rooms and anywhere you judge colour, such as a closet or makeup area.

What are ambient, task and accent lighting?

Ambient is the overall light of a room, task is focused light for an activity like cooking or reading, and accent adds mood by highlighting art or features. A well-lit room usually combines at least two of the three.

How high should I hang a dining pendant or chandelier?

About 30 to 36 inches above the tabletop, and keep the fixture narrower than the table so people do not knock it. Over a kitchen island, leave roughly the same clearance above the counter.

Are LED bulbs dimmable?

Only if the box says so. A non-dimmable LED on a dimmer may buzz or flicker. For smooth dimming, buy bulbs labelled dimmable and use an LED-compatible dimmer switch.

Why do my lights look mismatched?

Usually because the colour temperatures differ. A warm 2700K lamp next to a cool 4000K ceiling light will clash. Standardise the Kelvin value across a room, and check CRI if colours still look off.

Plan your lighting in minutes

Run the lumen calculator, pick a colour temperature, and build your room-by-room plan with confidence.